Tag Archives: diy

getting it done!

I’m on annual leave this week and the plan for a while had been to paint the outside of the house. I last did it 3 years ago and it probably should have been done last year but with everything going on I didn’t have much motivation or time really. Returning to work in June life became very busy for a few months.

Painting is one of those jobs that I don’t really like but get satisfaction from. There is an immediate result, you can see the benefit as you work. It’s also one of those jobs that I can do pretty well and therefore really dislike paying someone else to do! I’m convinced that I can do it almost as good as anyone I would pay.

Like last time I hired a scaffold tower. That came on Monday but at least 2 hours later than expected due to a mix up with my contact number by the hire company. With help from the boys I had it built and ready to go late on Monday afternoon.

the lower side of the house

Our house is a dormer bungalow or a story and a half as they’re also known. Most of the external walls are accessible with a small set of steps and a roller but three areas require some form of height access. A cherry picker would have been my first choice but they have become very expensive to hire and there wasn’t one available locally for this week. The scaffold is the next best option. It requires time and effort to build, move around and dismantle but once secured properly, it feels safe and secure and gives great access to the difficult to reach areas. The first year I used a ladder and that was zero fun!

shaky ladder or wobbly legs?

highest point of the house

Due to the design of the roof some sections required some “alternative” scaffolding configurations.

safer than it looks!

The chimney is a real challenge. It involves scrambling from the scaffold on to the roof itself and then wrestling with a roller or brush. I chickened out last time and it had bugged me every time I came up the drive and saw the different coloured chimney. This time though I managed to beat my fear and get it done!

look ma…no hands!

matching at last

The door has been plain white since we moved in 16 years ago but that is now changed and in dramatic fashion.

I finally finished late yesterday evening. All in it took me about 3.5 days which was quicker than expected. I’d allowed for 5 days but the grey only needed one coat. Good job too as the weather wasn’t what I’d hoped for and today and tomorrow are heavy rain both days.

job done 👌

I wrote a while back about finding motivation difficult and how I generally put things on the long finger and often give up on tasks and activities before they are finished. Last time I painted the house I found an excuse not to finish the garage and the back of the house on the first time around. This meant finishing it on evenings and days off over a period of about 2 weeks. This time I’m really pleased that I stuck at it and pushed on to get everything completed before the weather stopped me. This time the back is finished and also the garage, even the hidden bits that nobody sees! I even took time to give the window sills a second coat. It looks great and I’m really chuffed with the result 💪

The downside is the lack of cycling. I’d hoped to get out each morning for an hour but I’d underestimated how tired I would be. I managed a short spin on Monday morning before the scaffold came but rain on Tuesday morning and general tiredness on Wednesday and Thursday put paid to the other days. Today I’m aching but I have two rest days and then decent weather again on Sunday. As a bonus, now that the painting is completely finished, the rest of the month is free to get back up to fitness and get another Audax ride before the end of the month 😊

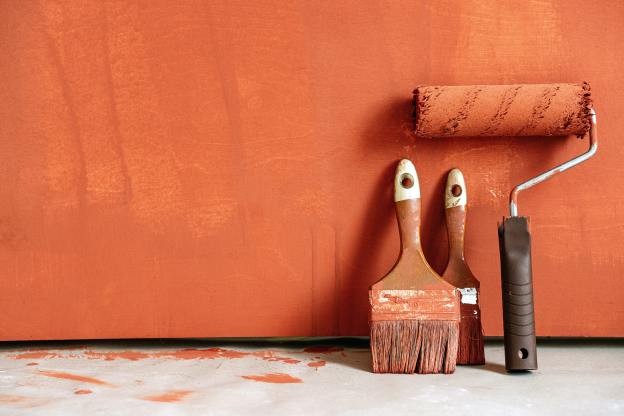
Header image by Photo by Ivan Samkov from Pexels

diy alcohol stove and billy can

Part of the attraction for bikepacking for me is the additional gear especially tent options, sleeping systems and cooking systems. The Alpkit Bruler is currently top of my wishlist.

source: alpkit

As well as the many professional versions out there, alcohol stoves have an amazing variety of DIY options. Try a search of YouTube and be prepared to disappear down a deep rabbit hole!

One of the simplest options is the tuna can stove which sometimes referred to as the cat food stove, due to the similar can size.

I have a plan for later in the week that requires some sort of cooking system so I decided to try and create one of these DIY stoves. I watched an interesting (to me at least!) video of slightly more complex versions of the tuna can stove and picked the one I thought would be easiest to make.

stove stage 1: supplies & tools

Supplies: Tuna can x 2 (identical size), soup/beans tin x 1 (all empty and labels removed), wire coat hanger.

Tools: Needle nose pliers, tin snips, drill, 12mm, 5mm & 3mm metal drill bits.

stage 2: inner layer

Take one of the tuna cans and using the needle nose pliers put a series of crimps in the sides approximately 2-3cm apart. Do this by gripping the side and twisting the pliers to one side. This creates vents for the alcohol vapour and allows you to slide this can inside the other with the base facing upwards.

stage 3: external burners

Using the 5mm bit drill a series of holes close to the top of the outer can approximately 1-2cm apart all the way around the can. I’m not sure if it’s correct but I also drilled through the inner can.

Change to the 3mm bit and drill smaller holes in between the first set. Neatness and accuracy may help here but don’t seem to be a priority on any of the videos I watched.

stage 4: top burner hole

Using the largest drill bit you have (mine was 12mm) drill a hole in the centre of the top of the stove (ie. the base of the inside can). Using the tin snips cut slits in the edge of the hole and press the edges inwards using the side of the needle nose pliers. Repeat the cutting and bending until the hole is still roughly circular and as wide as you require. I used one of the circles on the base as a guide.

That’s the stove complete. Denatured alcohol is the cheapest and easiest fuel to source. It’s most commonly sold as methalyted spirits.

If you prefer to watch a video from someone that knows exactly what they are doing the YouTube link below is where I got the design and instructions.

billy can stage 1: body & handle

This is a lot simpler. Using the large drill bit make two holes, directly opposite each other close to the top of the soup can.

Cut a piece of the wire coat hanger approximately 20cm long. Bend back the ends of this inwards approx 1-2cm making hook shapes. Shape the rest of the wire into a curve making the rough shape of a handle. Pass the hooks through the holes in the side of the can and squeeze them tight using the pliers to stop the handle slipping out when in use.

stage 2: lid

A lid isn’t necessary but it will retain heat in the can, speed up the boiling process and use less fuel. I used the lid from one of the tuna cans. Using the large drill bit make a hole in the centre of the lid. Cut a piece of the wire coat hanger approximately 6-8cm long. Bend the two ends until they meet and push half their length through the hole from the outside. Bend the edges back to prevent them pulling back through and leave a loop on the top.

The remaining piece of the hanger can be used as a hook for lifting the lid or the whole can off the stove without burning your fingers.

That’s the complete DIY cooking system. I plan to use it later this week. This plan will involve creating a YouTube video which I’m a bit leary of but I guess it will be good to get outside my comfort zone.

Header image from kk.org