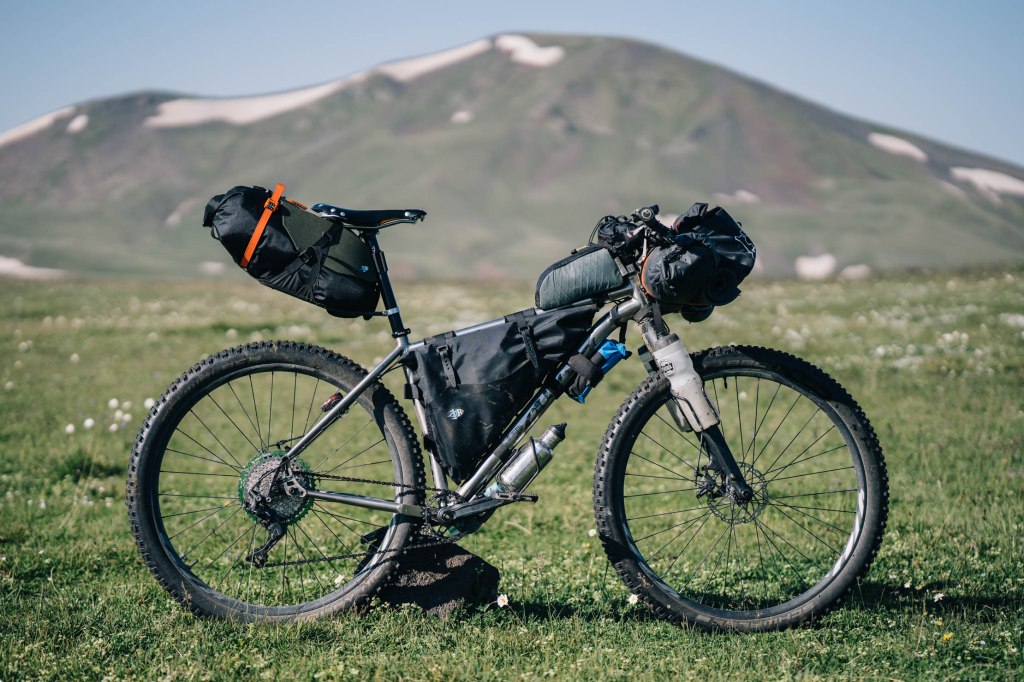
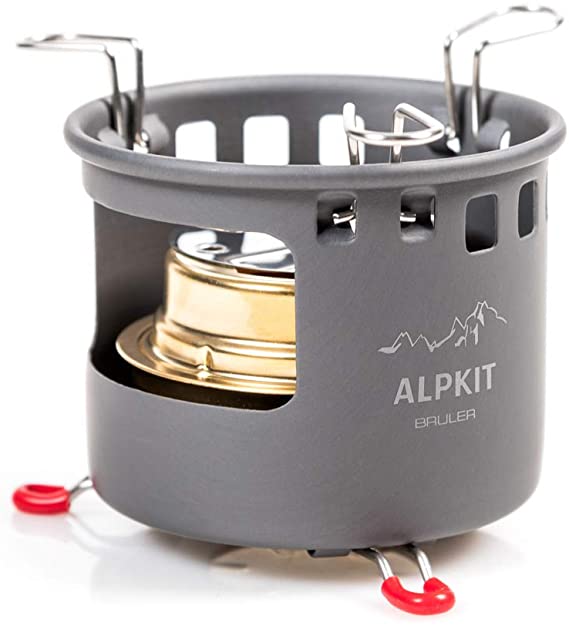
Part of the attraction for bikepacking for me is the additional gear especially tent options, sleeping systems and cooking systems. The Alpkit Bruler is currently top of my wishlist.
As well as the many professional versions out there, alcohol stoves have an amazing variety of DIY options. Try a search of YouTube and be prepared to disappear down a deep rabbit hole!
One of the simplest options is the tuna can stove which sometimes referred to as the cat food stove, due to the similar can size.
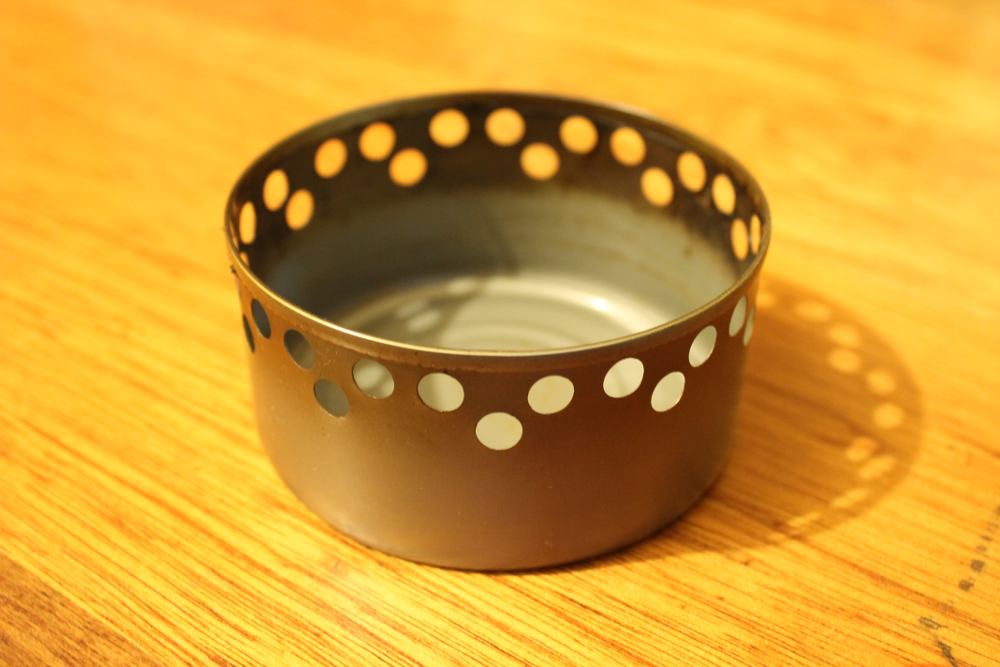
I have a plan for later in the week that requires some sort of cooking system so I decided to try and create one of these DIY stoves. I watched an interesting (to me at least!) video of slightly more complex versions of the tuna can stove and picked the one I thought would be easiest to make.
stove stage 1: supplies & tools
Supplies: Tuna can x 2 (identical size), soup/beans tin x 1 (all empty and labels removed), wire coat hanger.

Tools: Needle nose pliers, tin snips, drill, 12mm, 5mm & 3mm metal drill bits.
stage 2: inner layer
Take one of the tuna cans and using the needle nose pliers put a series of crimps in the sides approximately 2-3cm apart. Do this by gripping the side and twisting the pliers to one side. This creates vents for the alcohol vapour and allows you to slide this can inside the other with the base facing upwards.


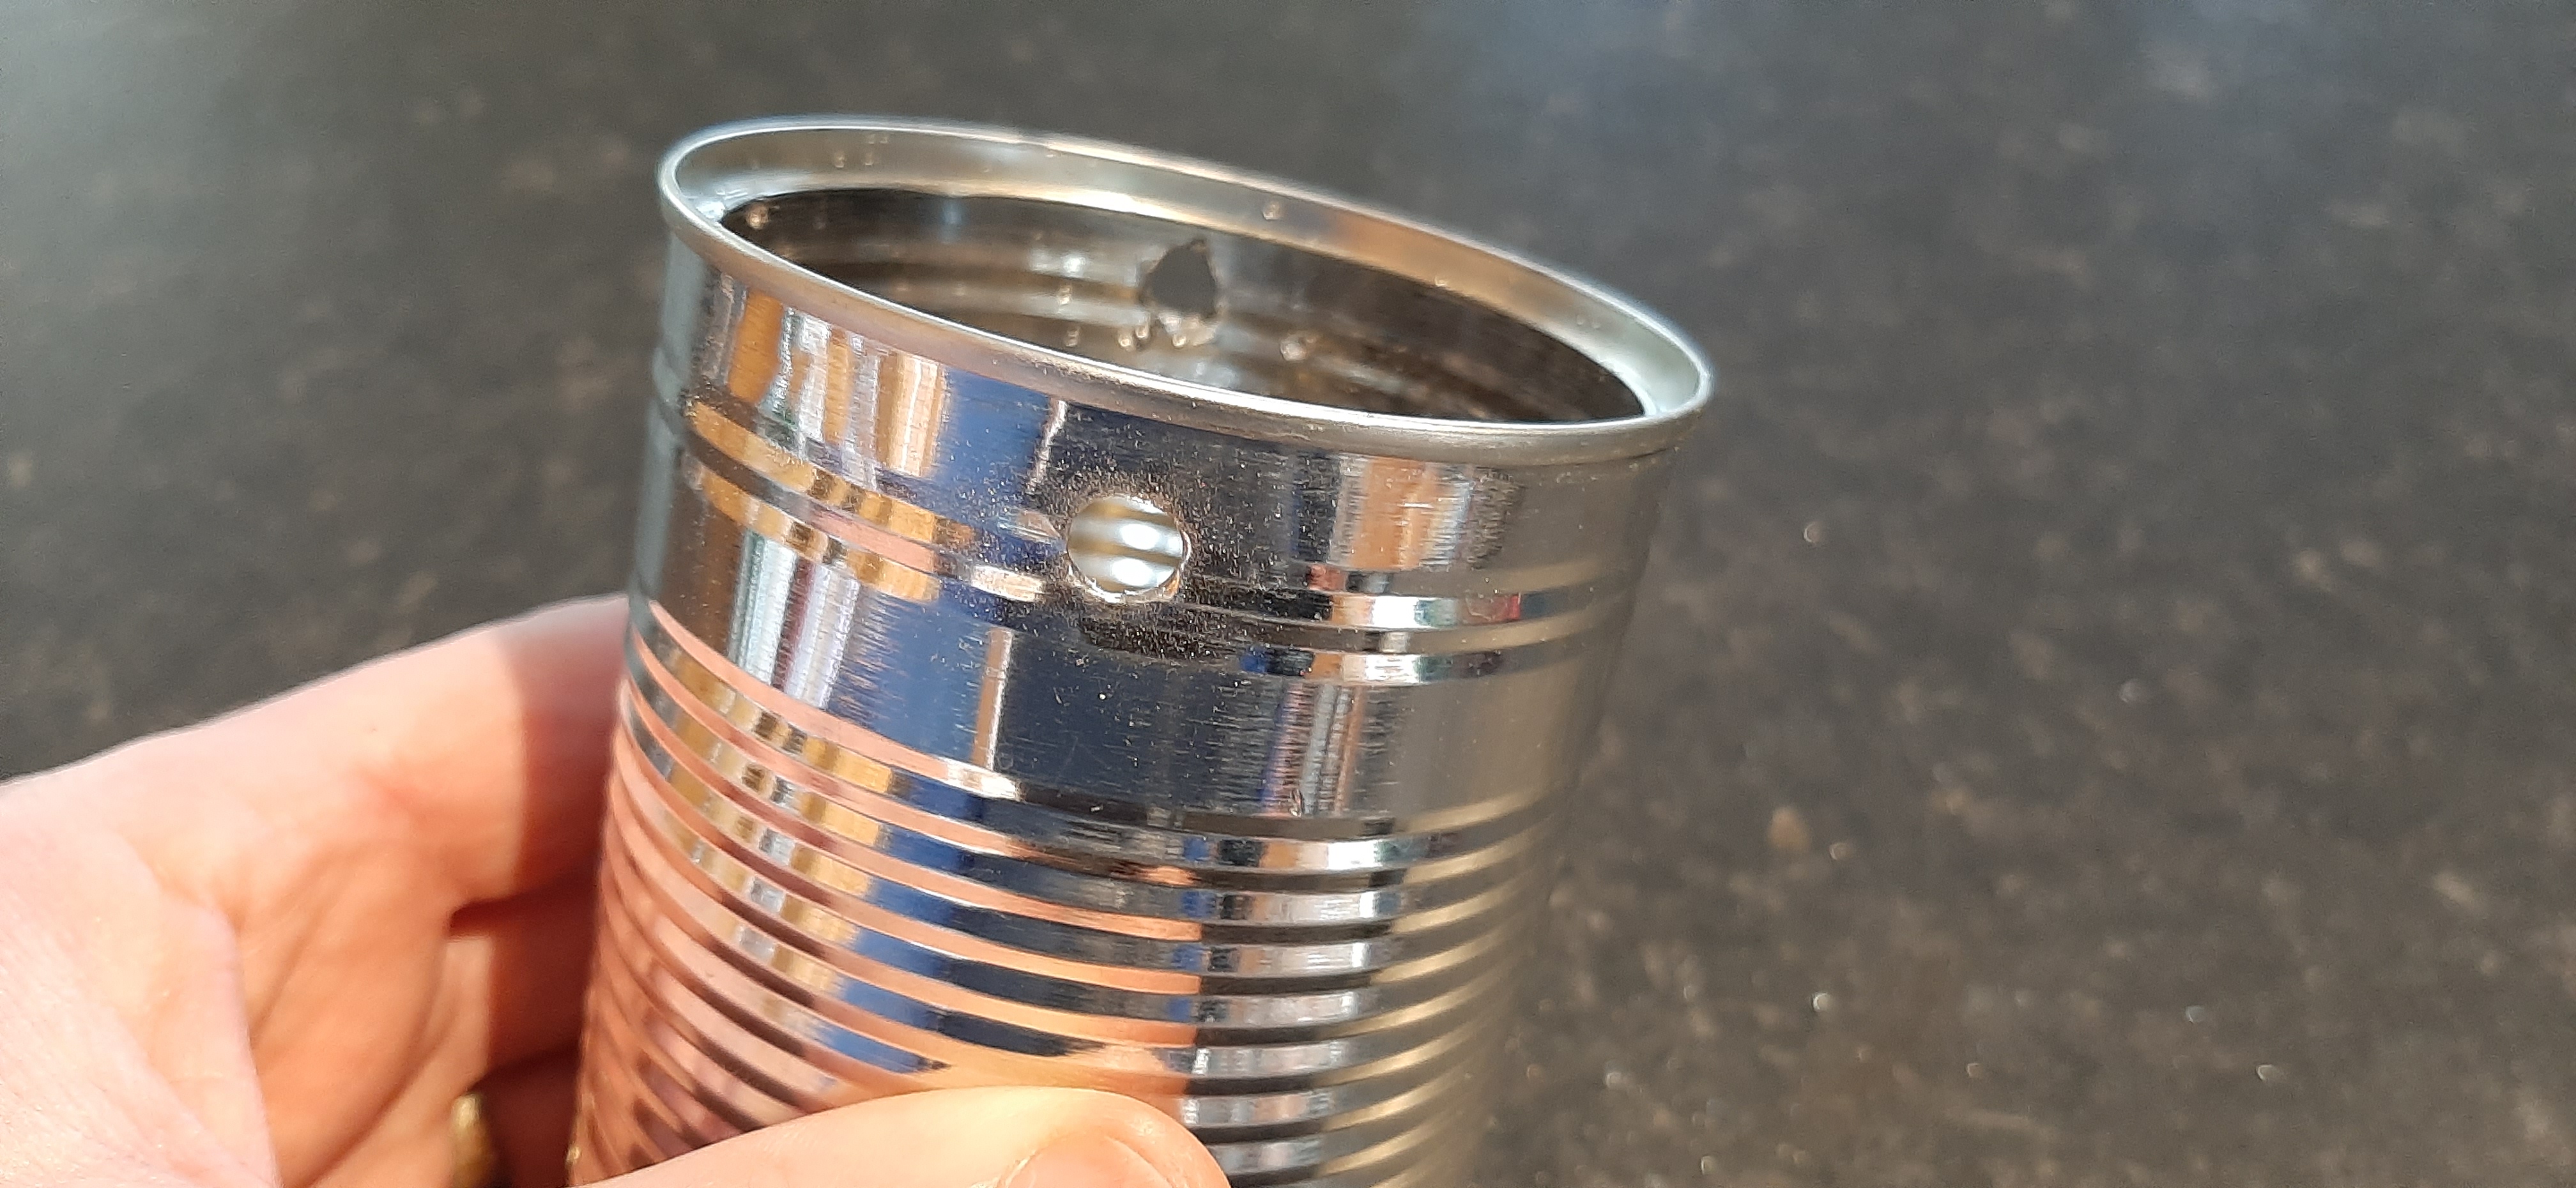
stage 3: external burners
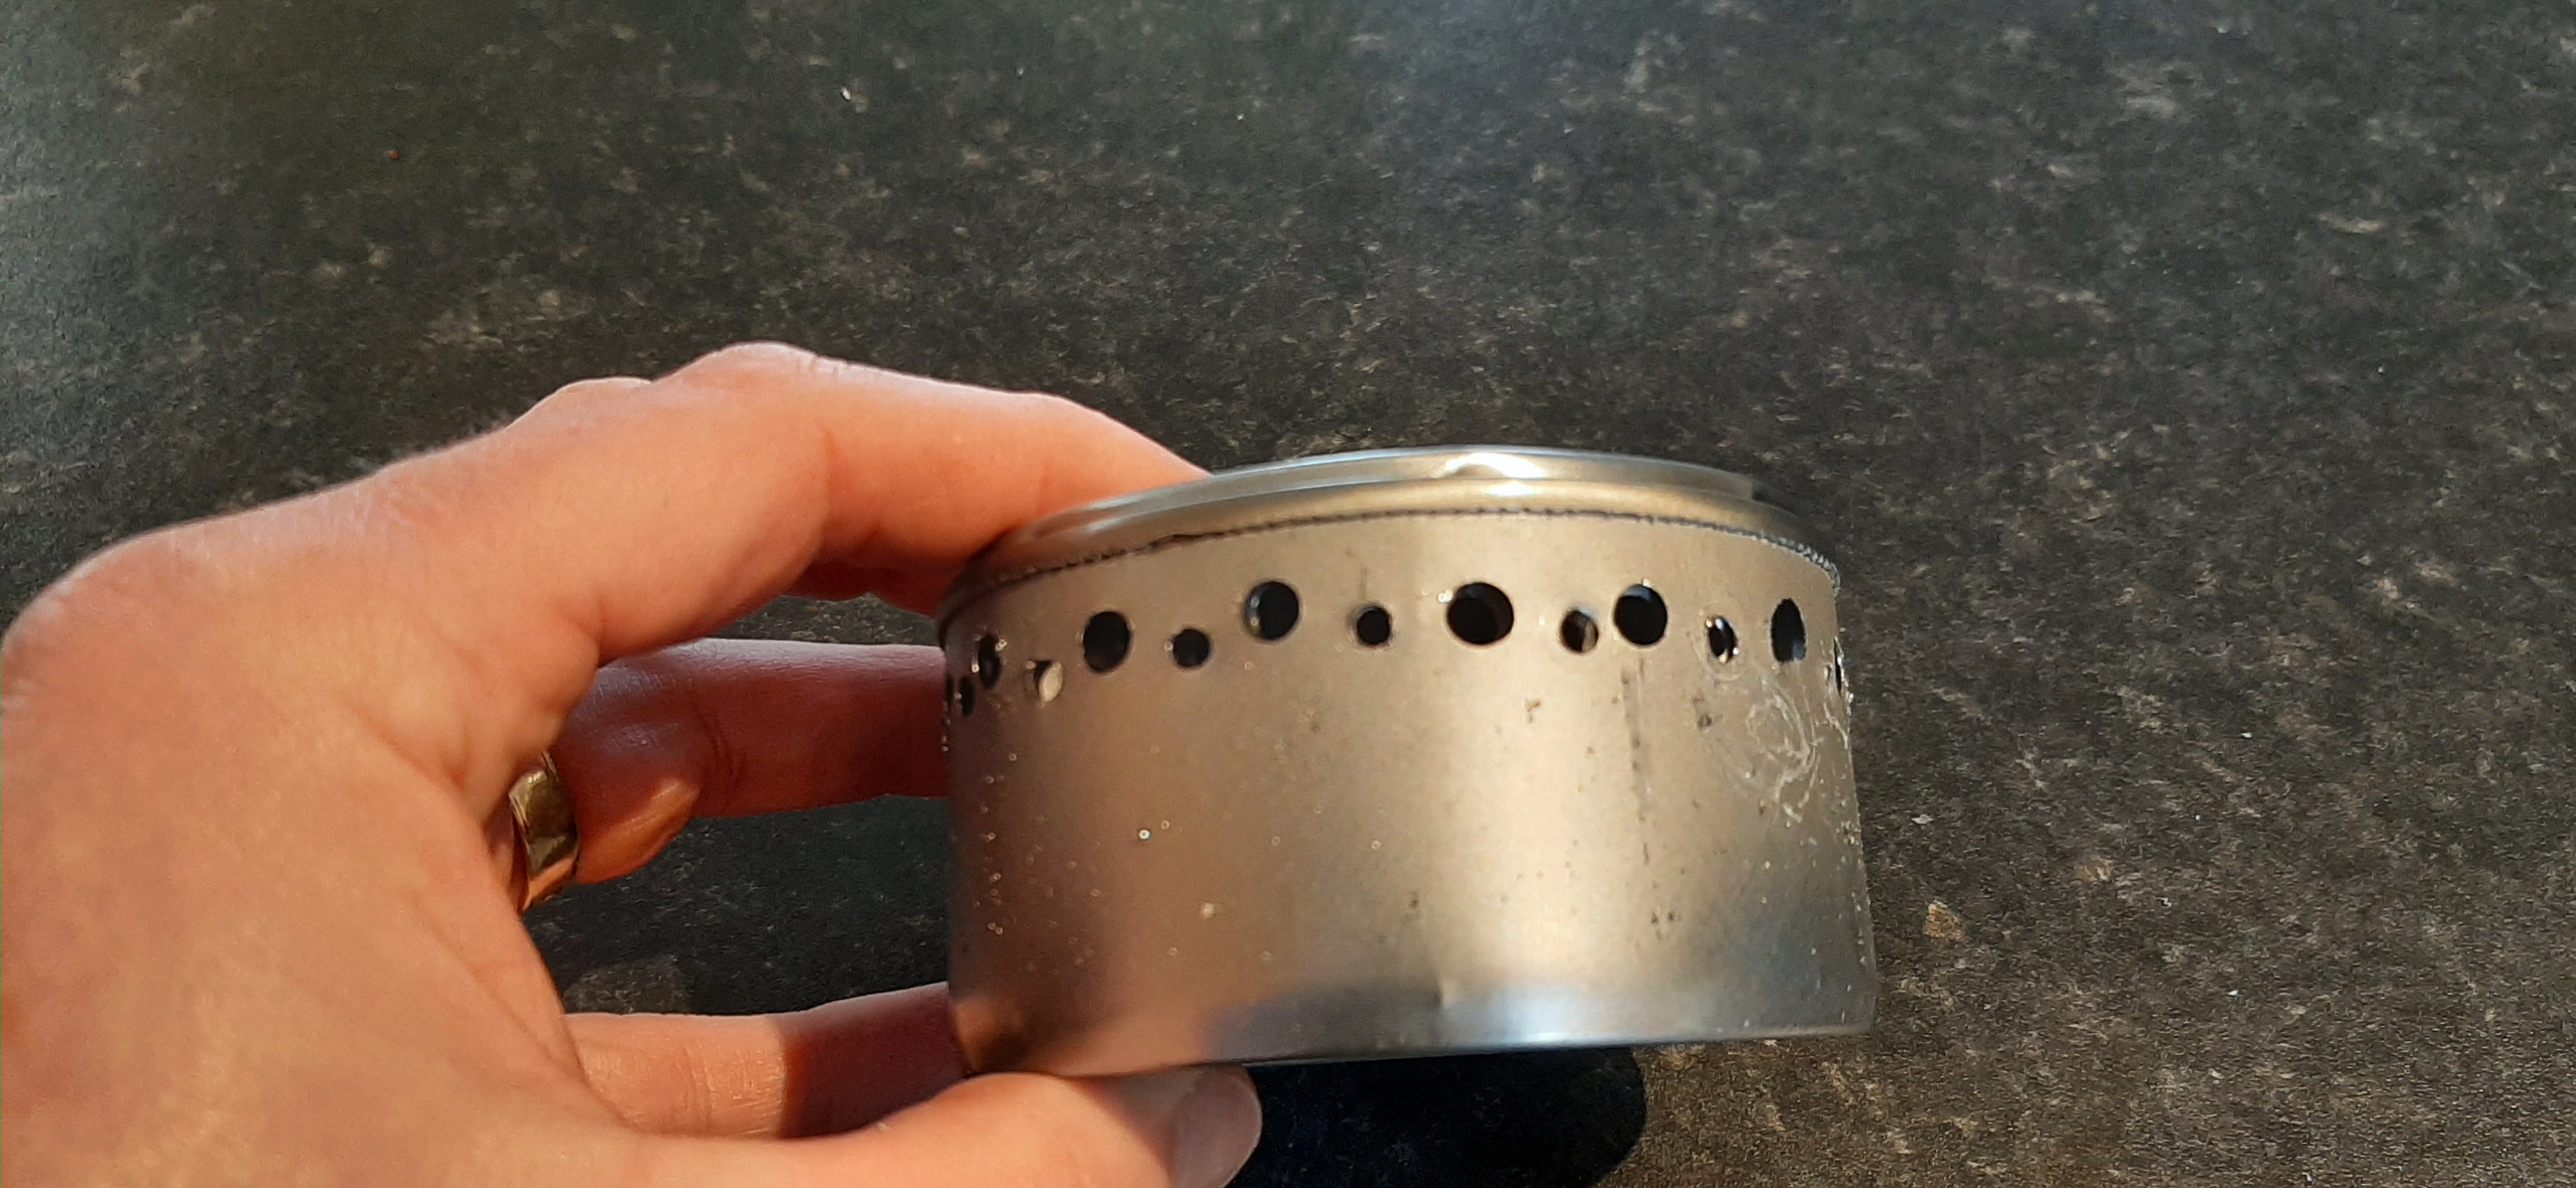
Using the 5mm bit drill a series of holes close to the top of the outer can approximately 1-2cm apart all the way around the can. I’m not sure if it’s correct but I also drilled through the inner can.

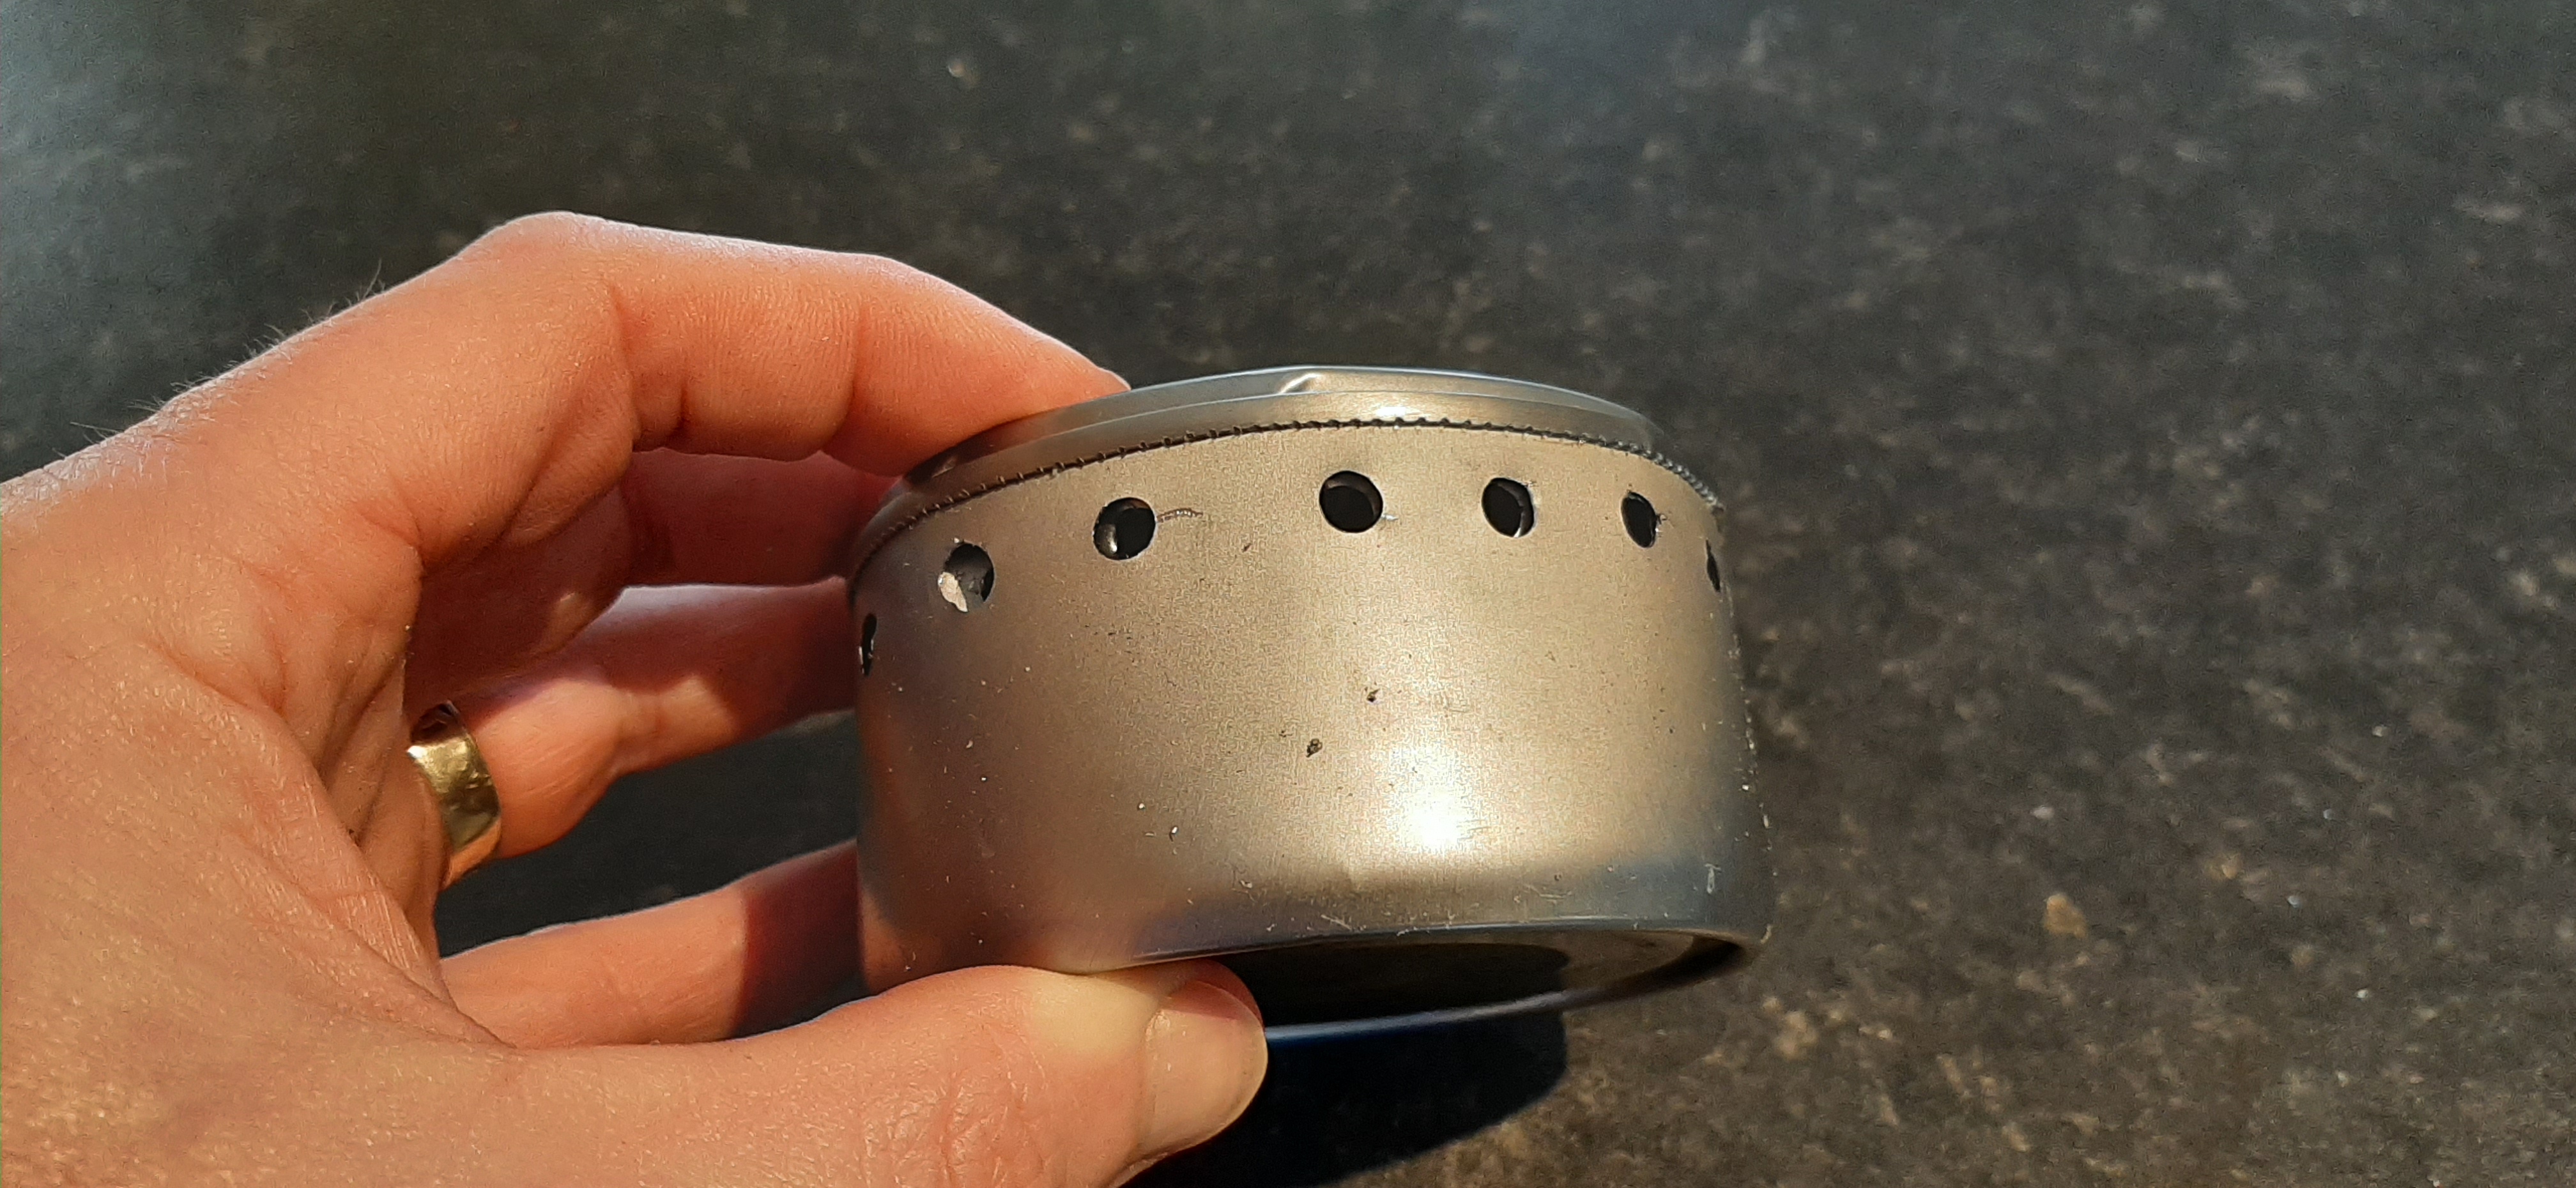
Change to the 3mm bit and drill smaller holes in between the first set. Neatness and accuracy may help here but don’t seem to be a priority on any of the videos I watched.
stage 4: top burner hole
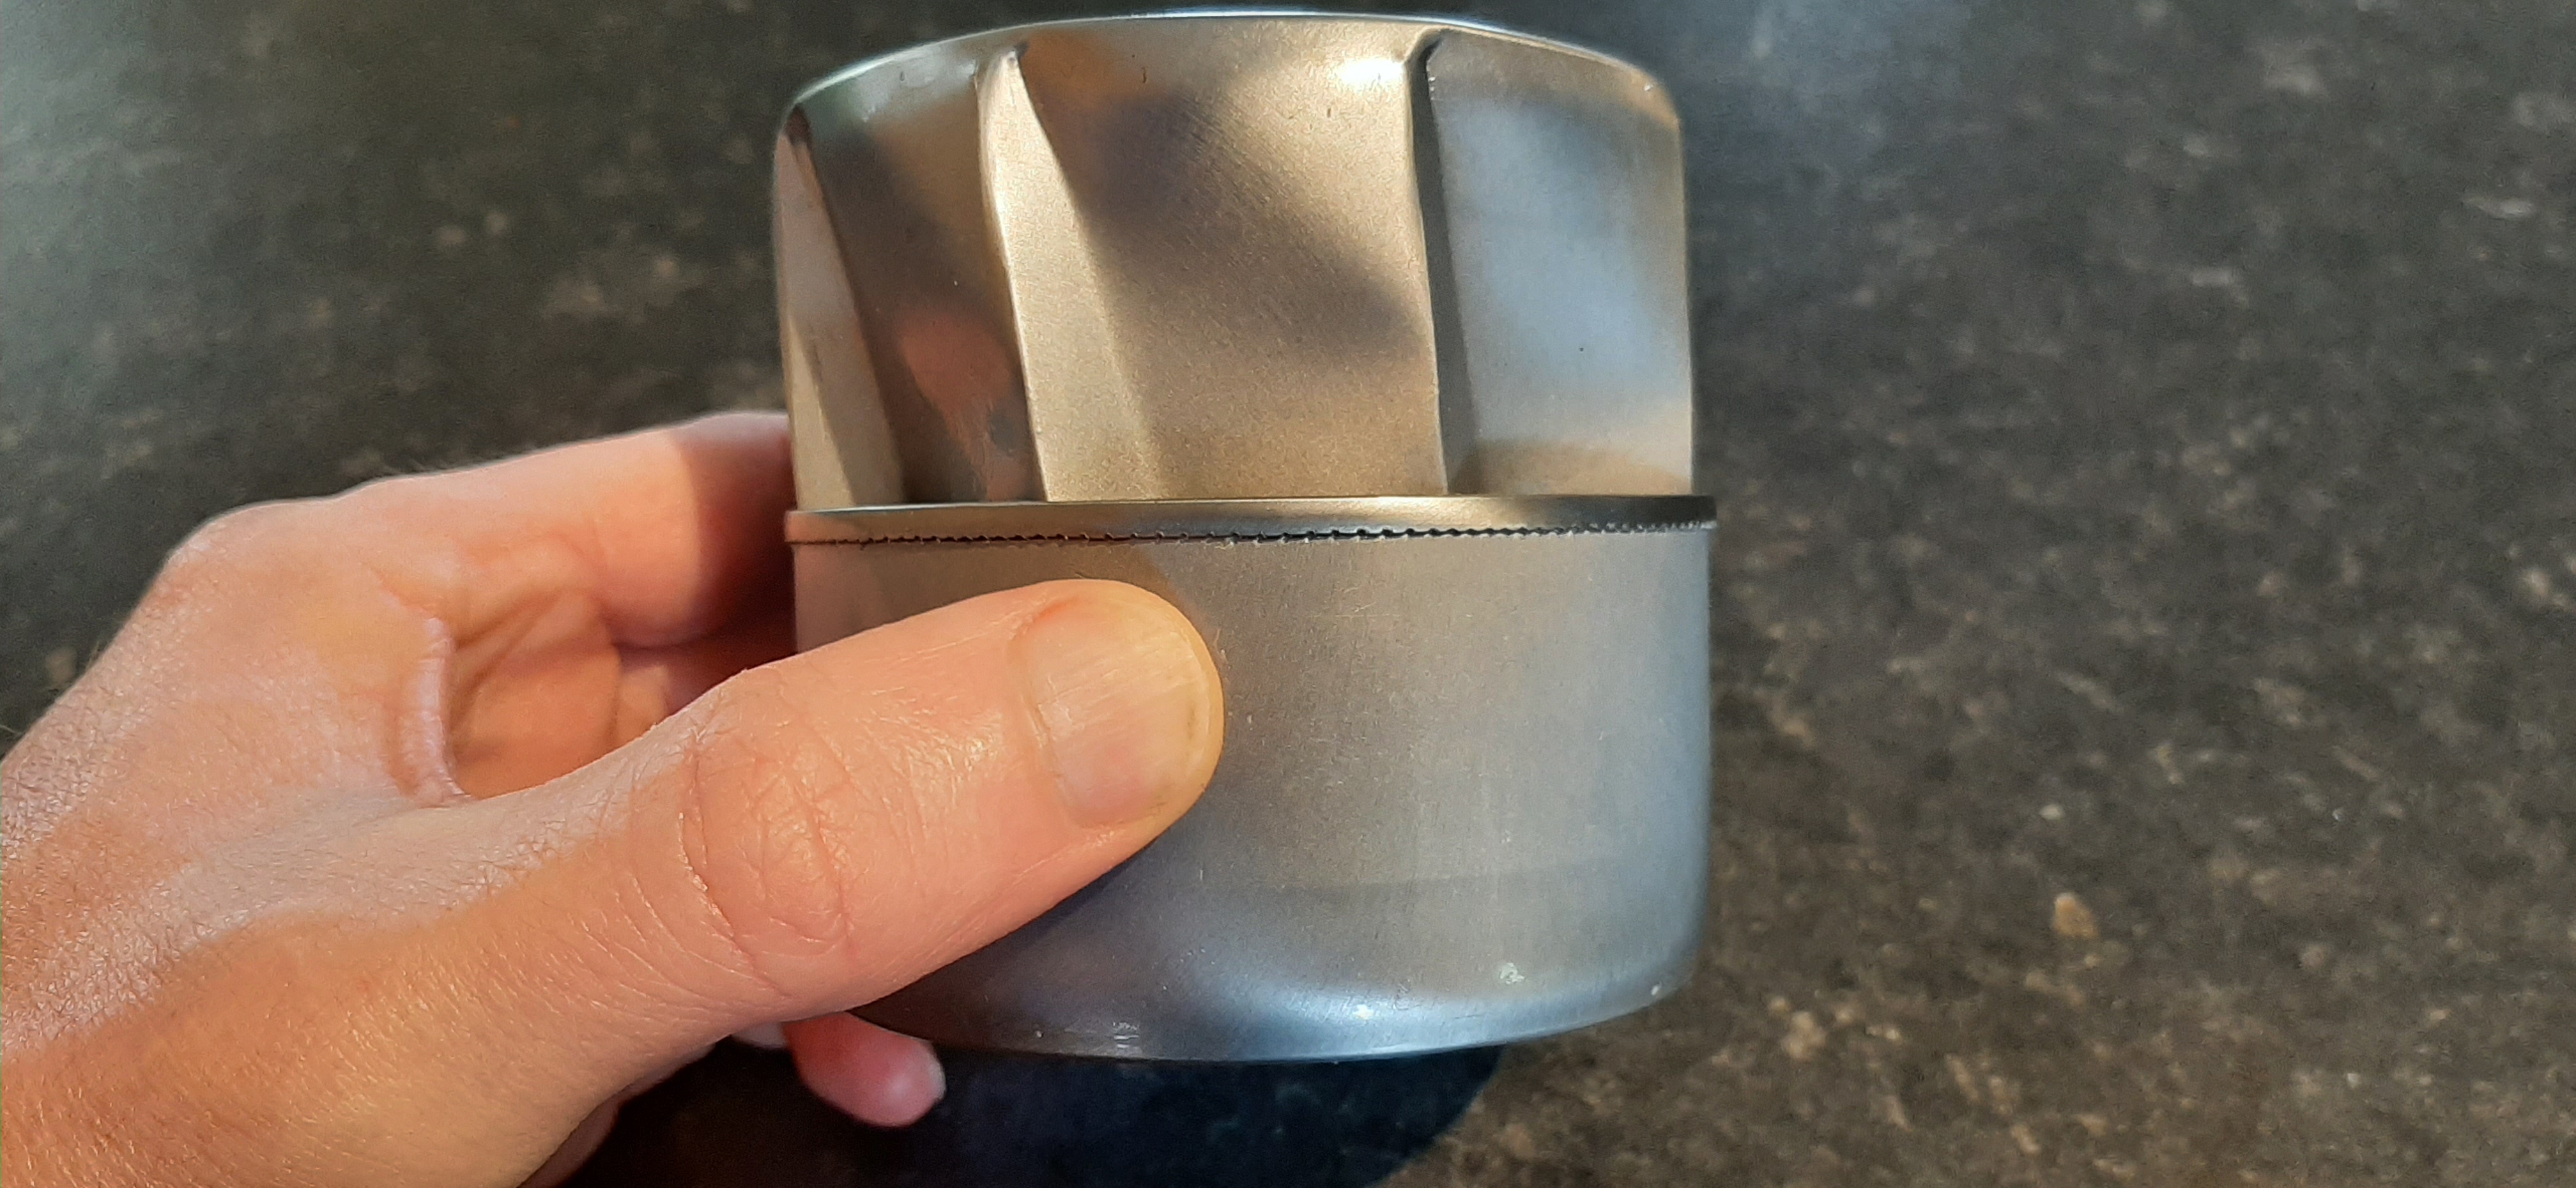
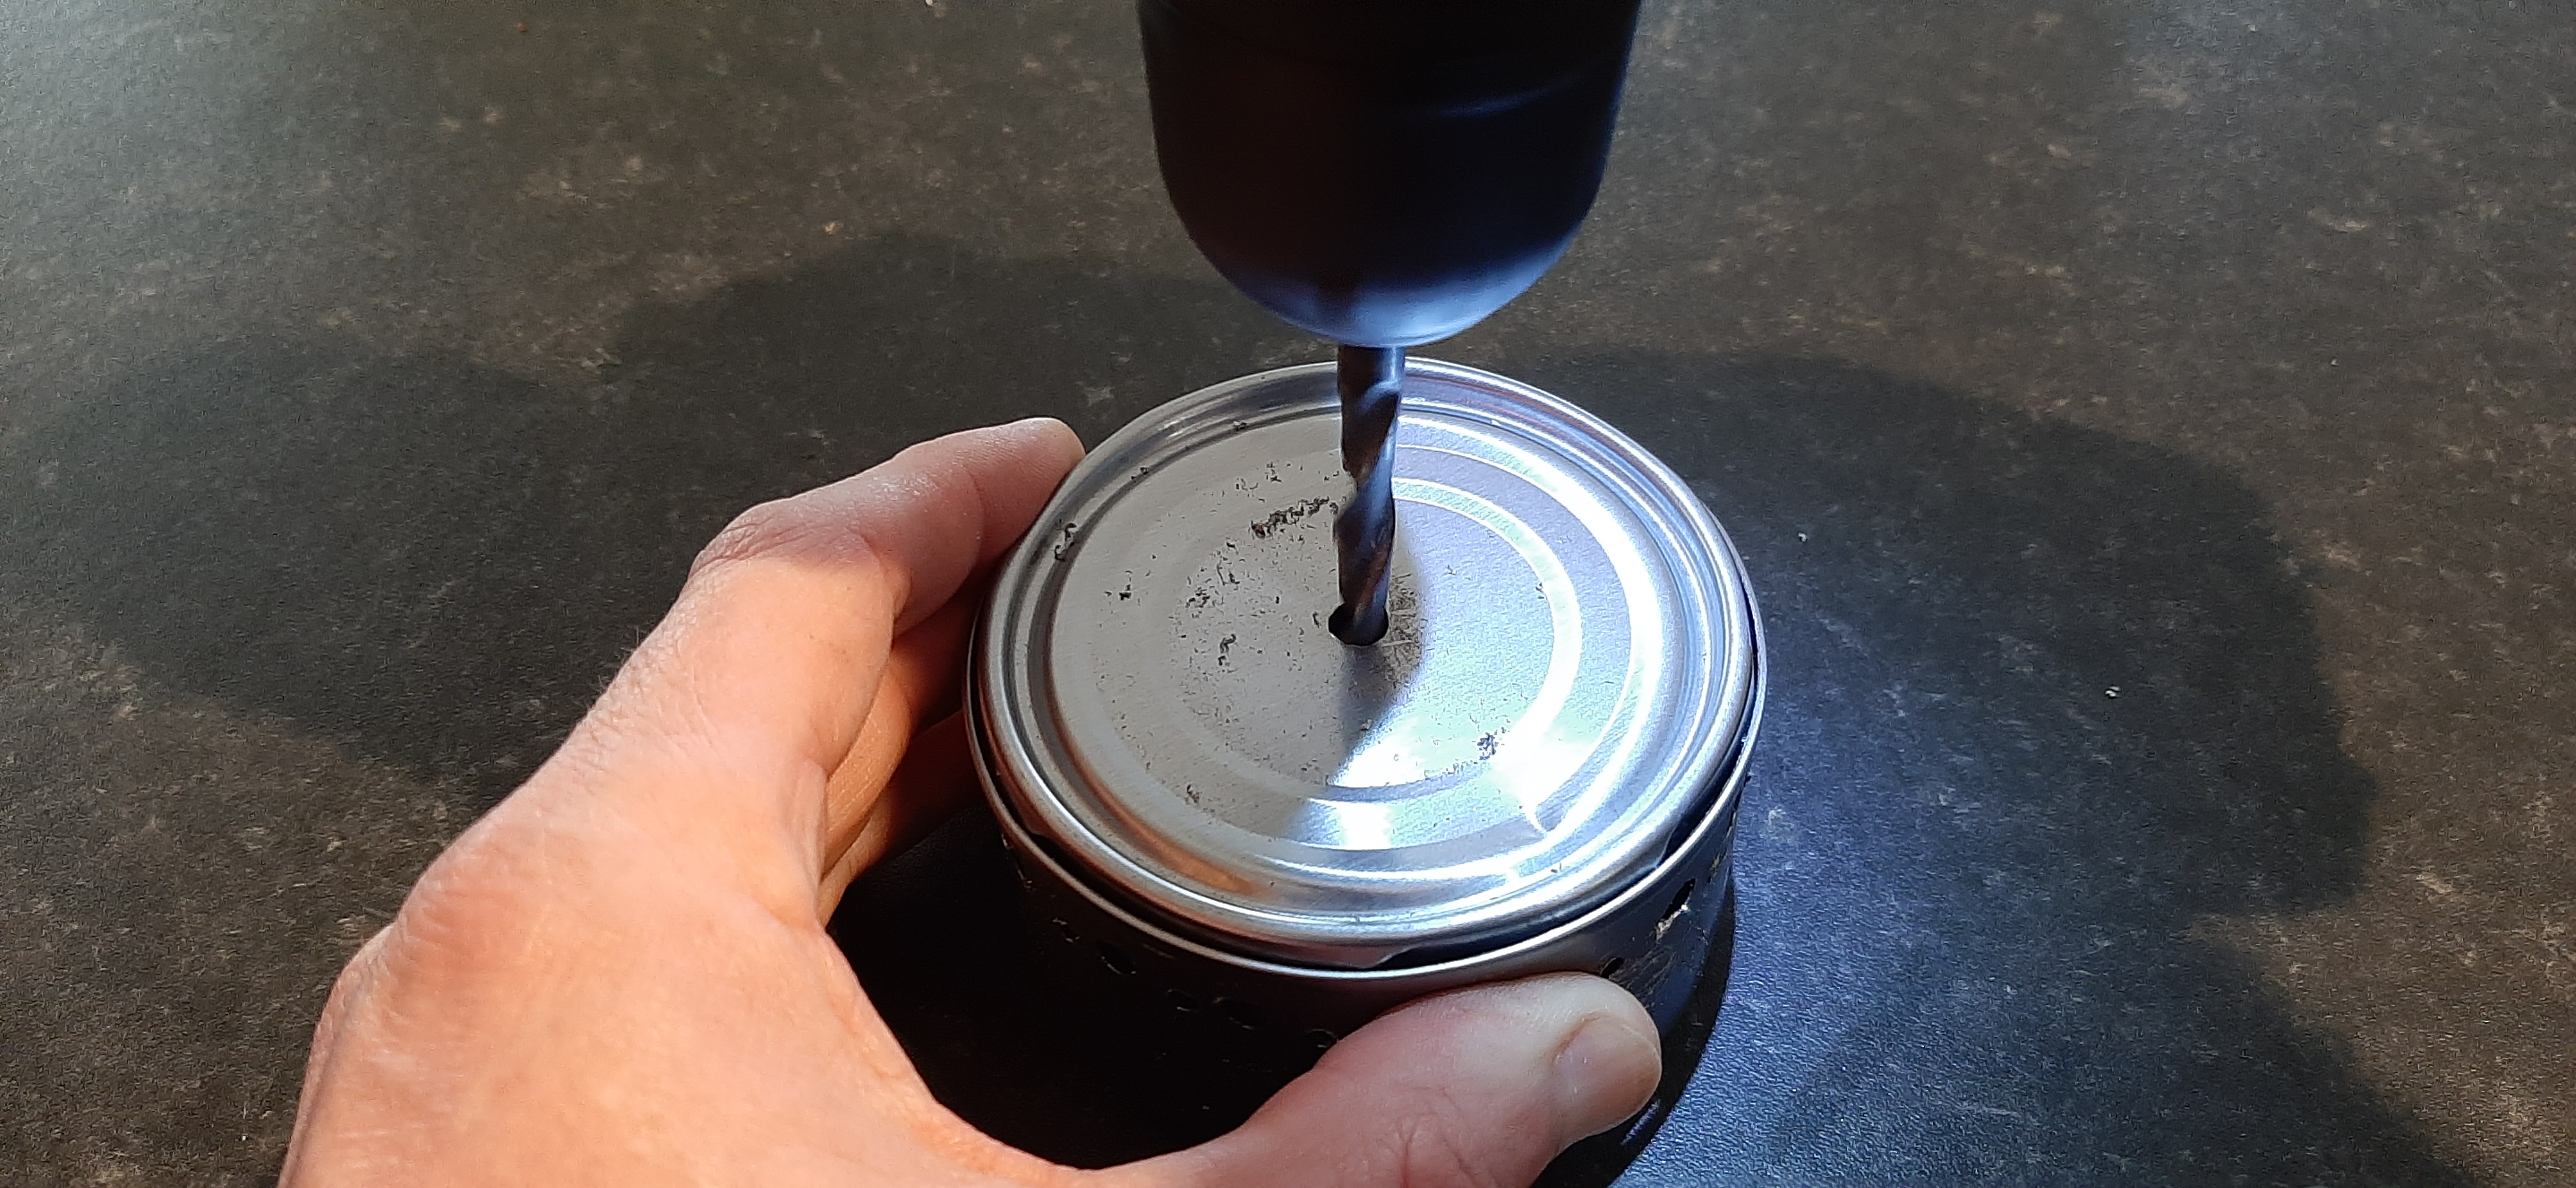
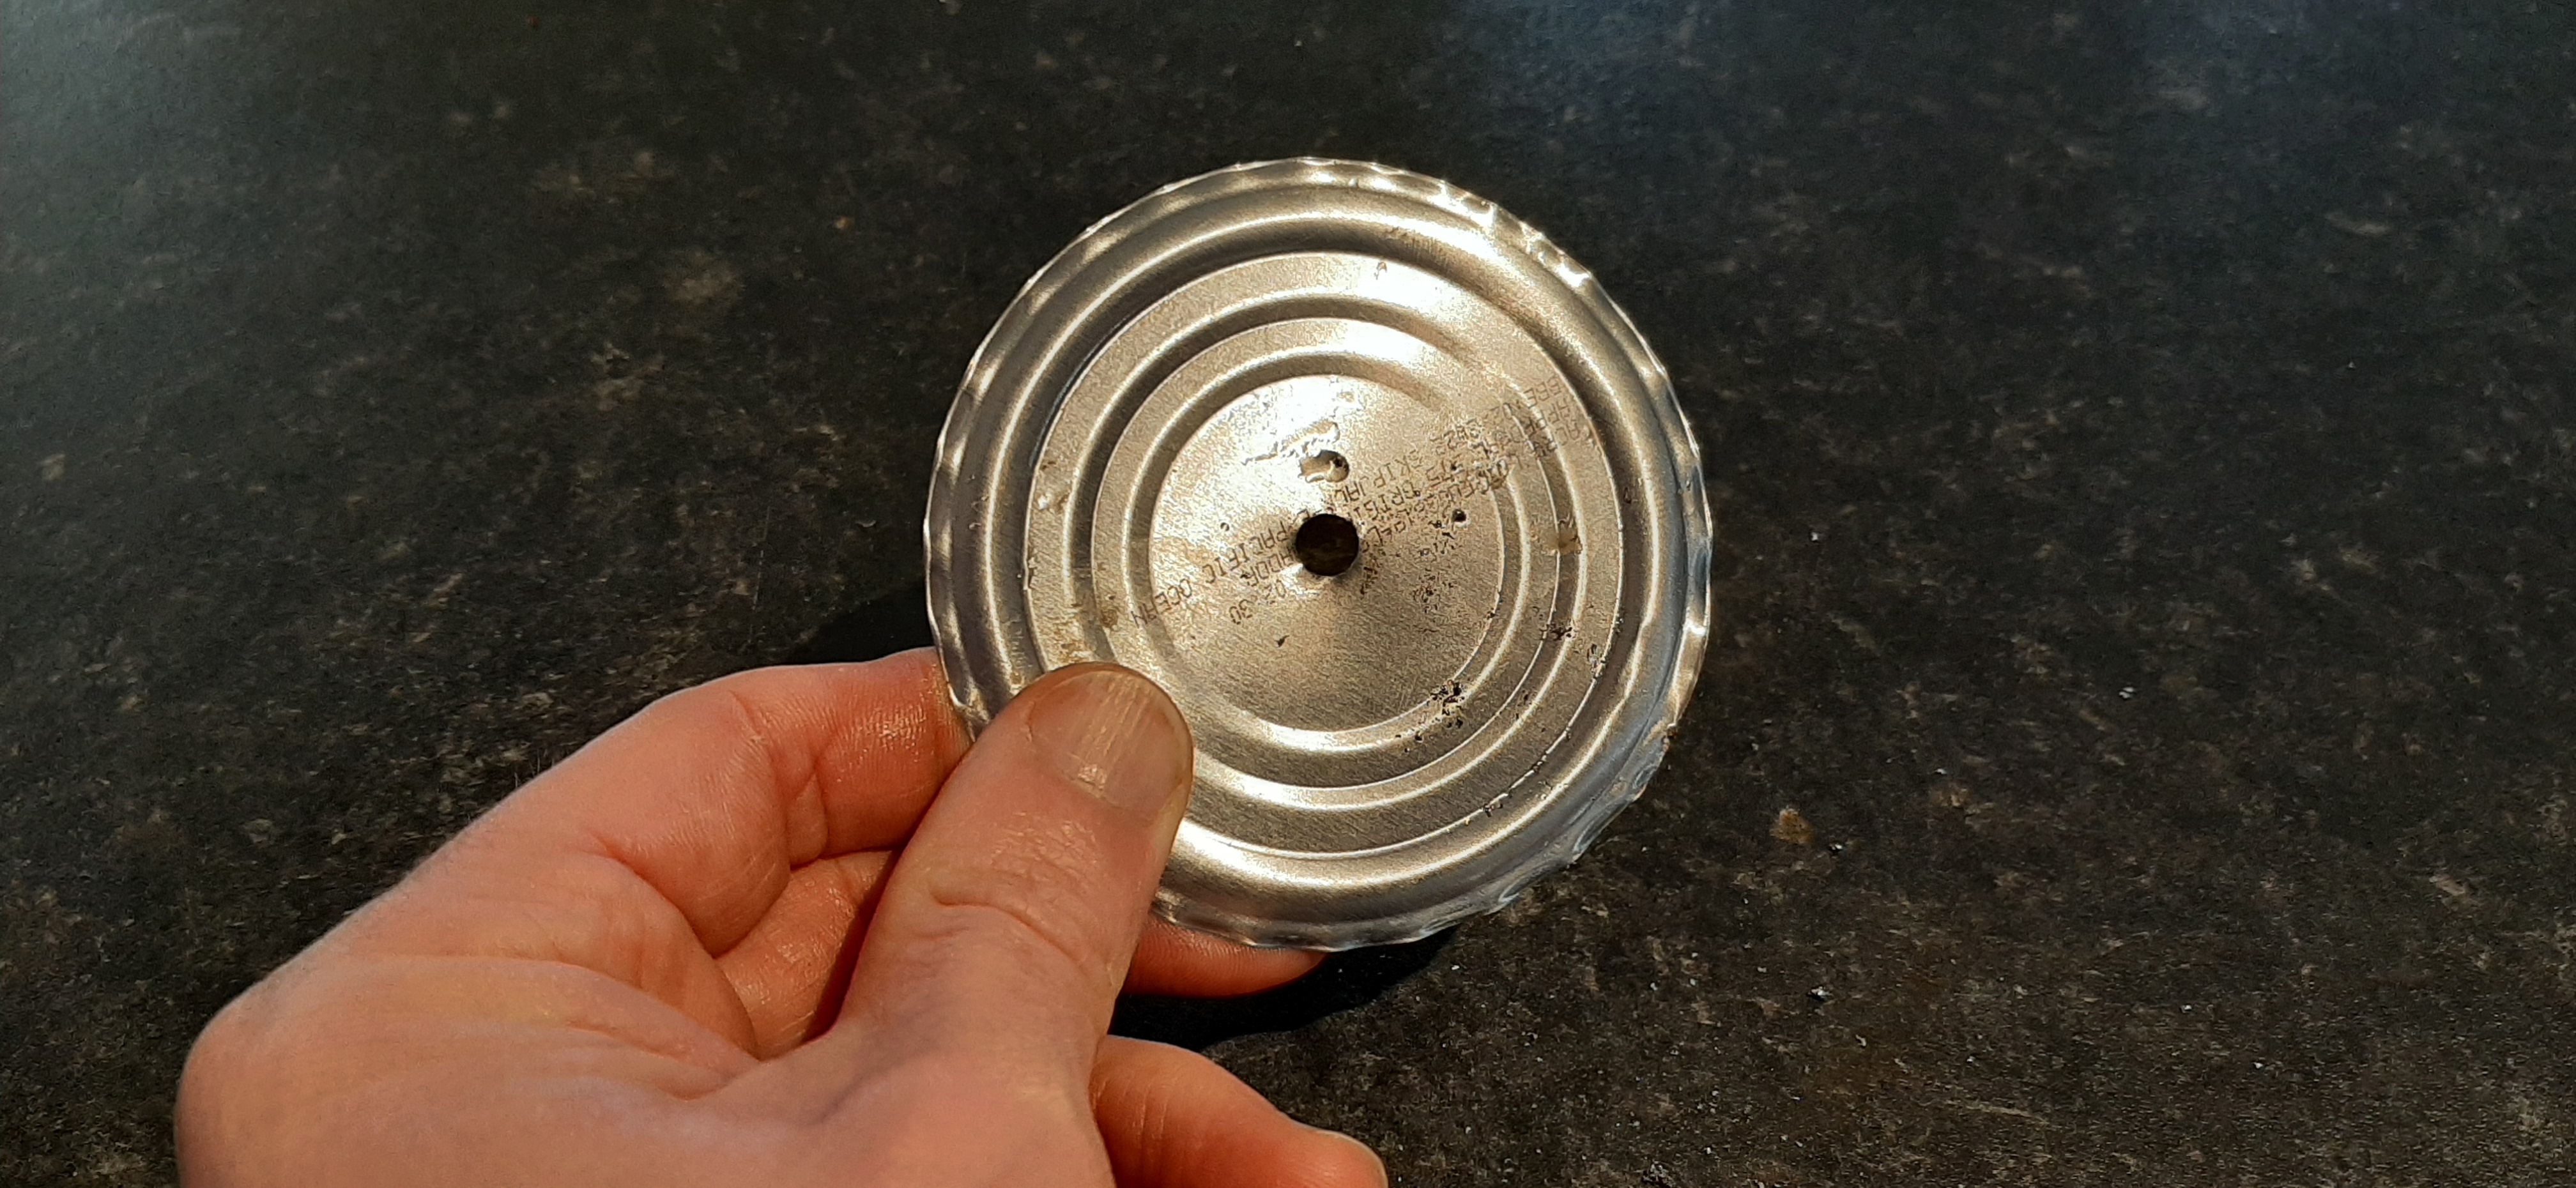
Using the largest drill bit you have (mine was 12mm) drill a hole in the centre of the top of the stove (ie. the base of the inside can). Using the tin snips cut slits in the edge of the hole and press the edges inwards using the side of the needle nose pliers. Repeat the cutting and bending until the hole is still roughly circular and as wide as you require. I used one of the circles on the base as a guide.


That’s the stove complete. Denatured alcohol is the cheapest and easiest fuel to source. It’s most commonly sold as methalyted spirits.

If you prefer to watch a video from someone that knows exactly what they are doing the YouTube link below is where I got the design and instructions.
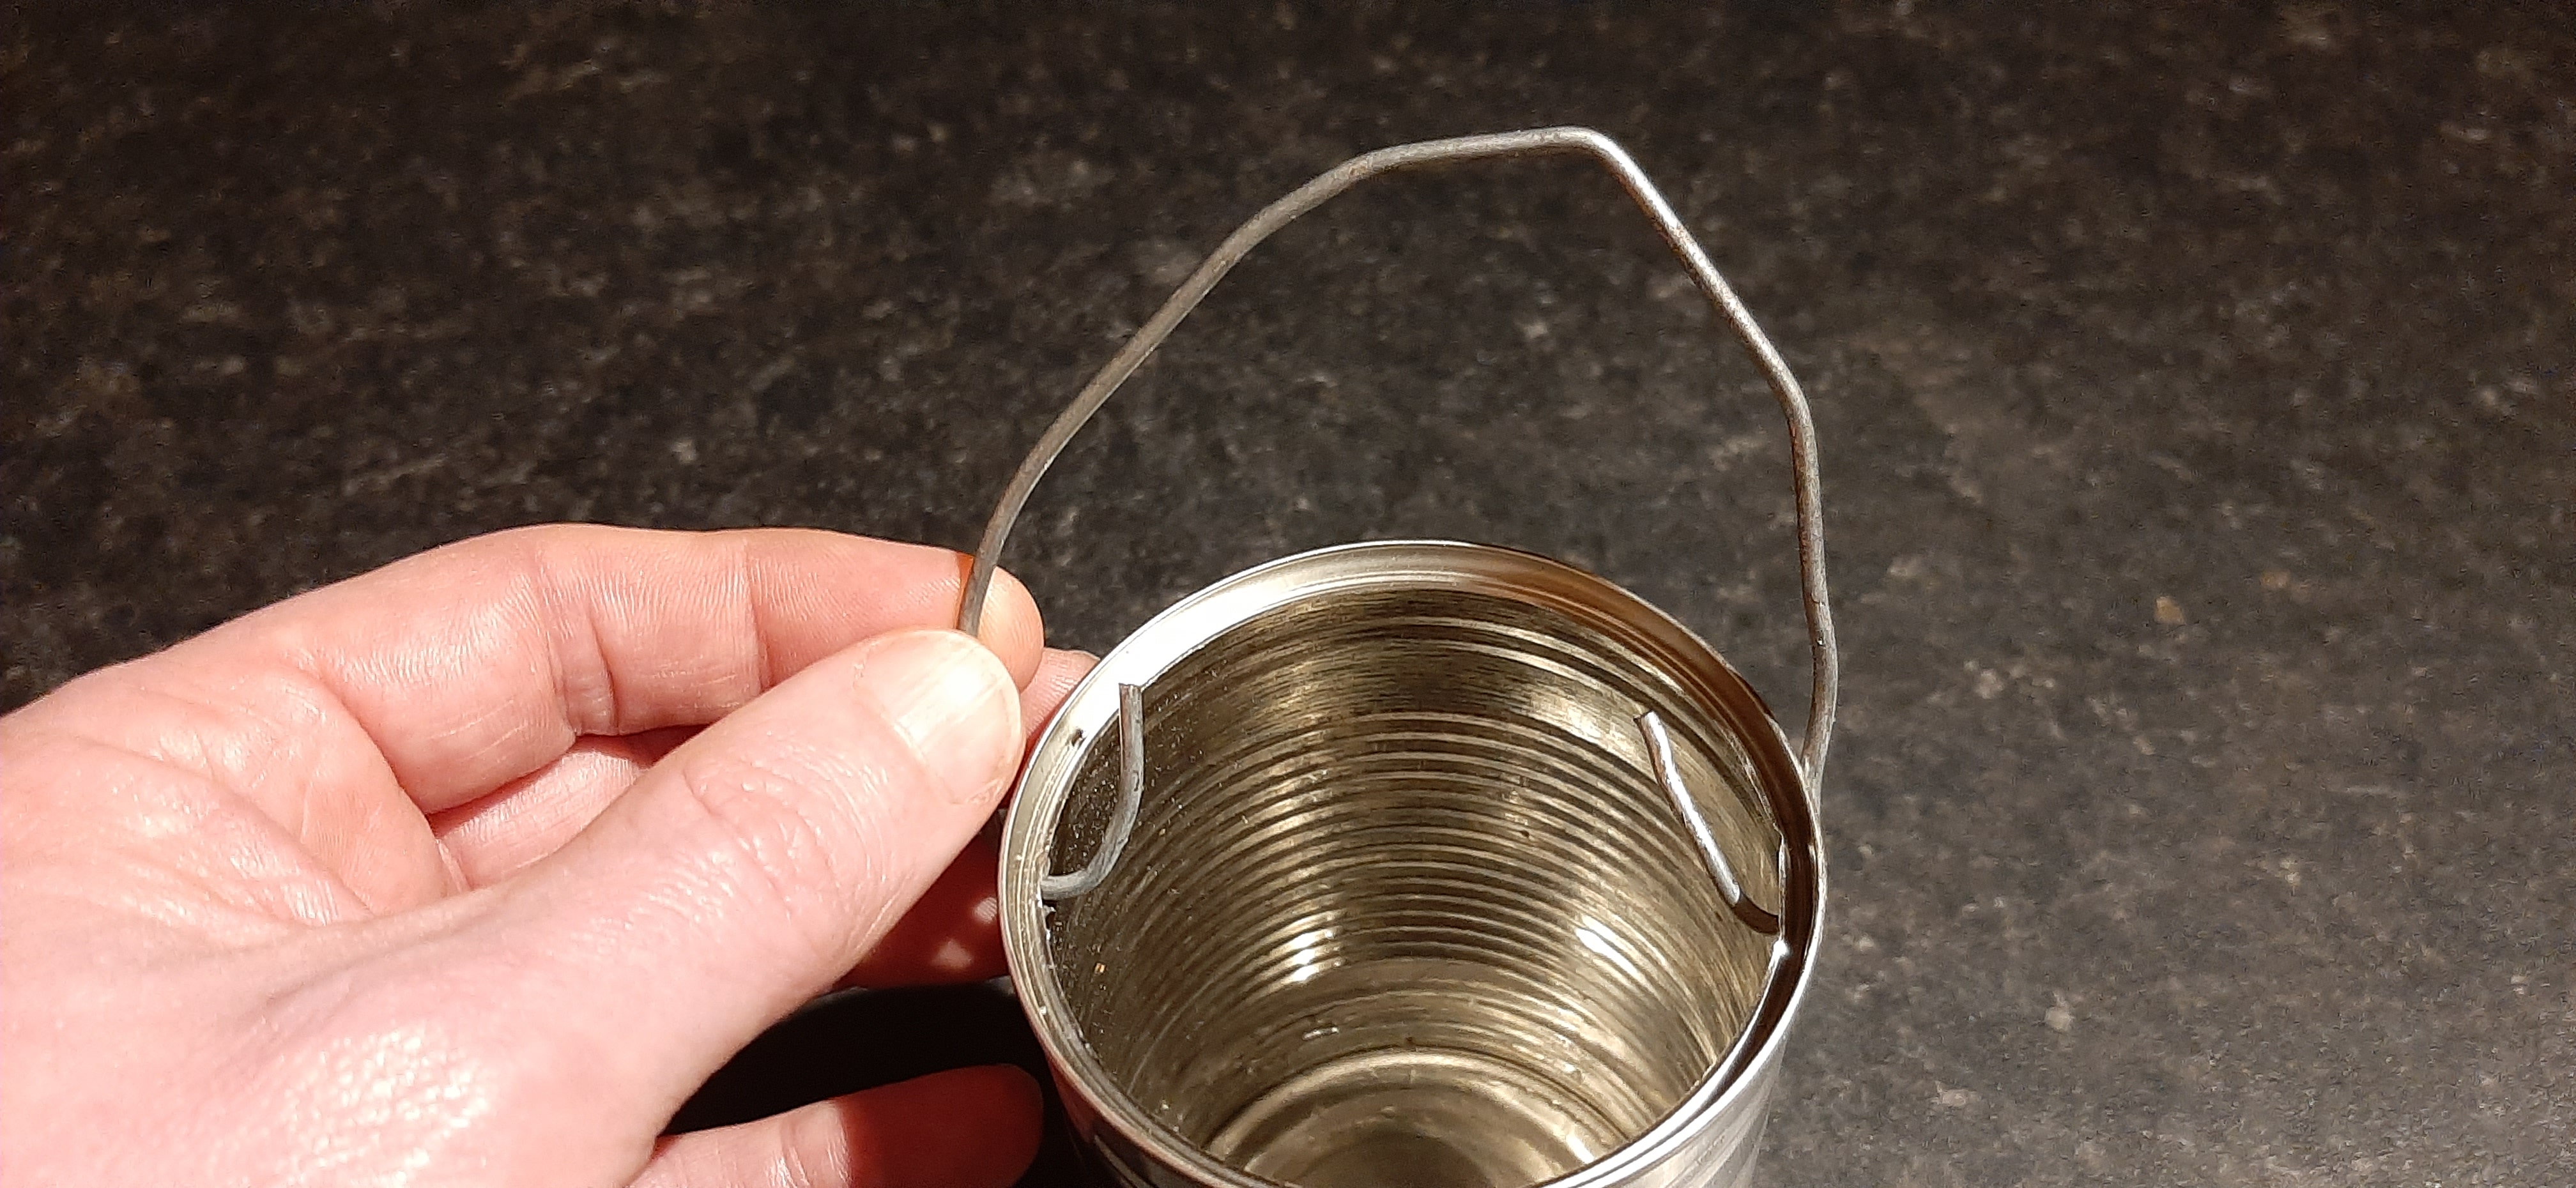
billy can stage 1: body & handle
This is a lot simpler. Using the large drill bit make two holes, directly opposite each other close to the top of the soup can.

Cut a piece of the wire coat hanger approximately 20cm long. Bend back the ends of this inwards approx 1-2cm making hook shapes. Shape the rest of the wire into a curve making the rough shape of a handle. Pass the hooks through the holes in the side of the can and squeeze them tight using the pliers to stop the handle slipping out when in use.
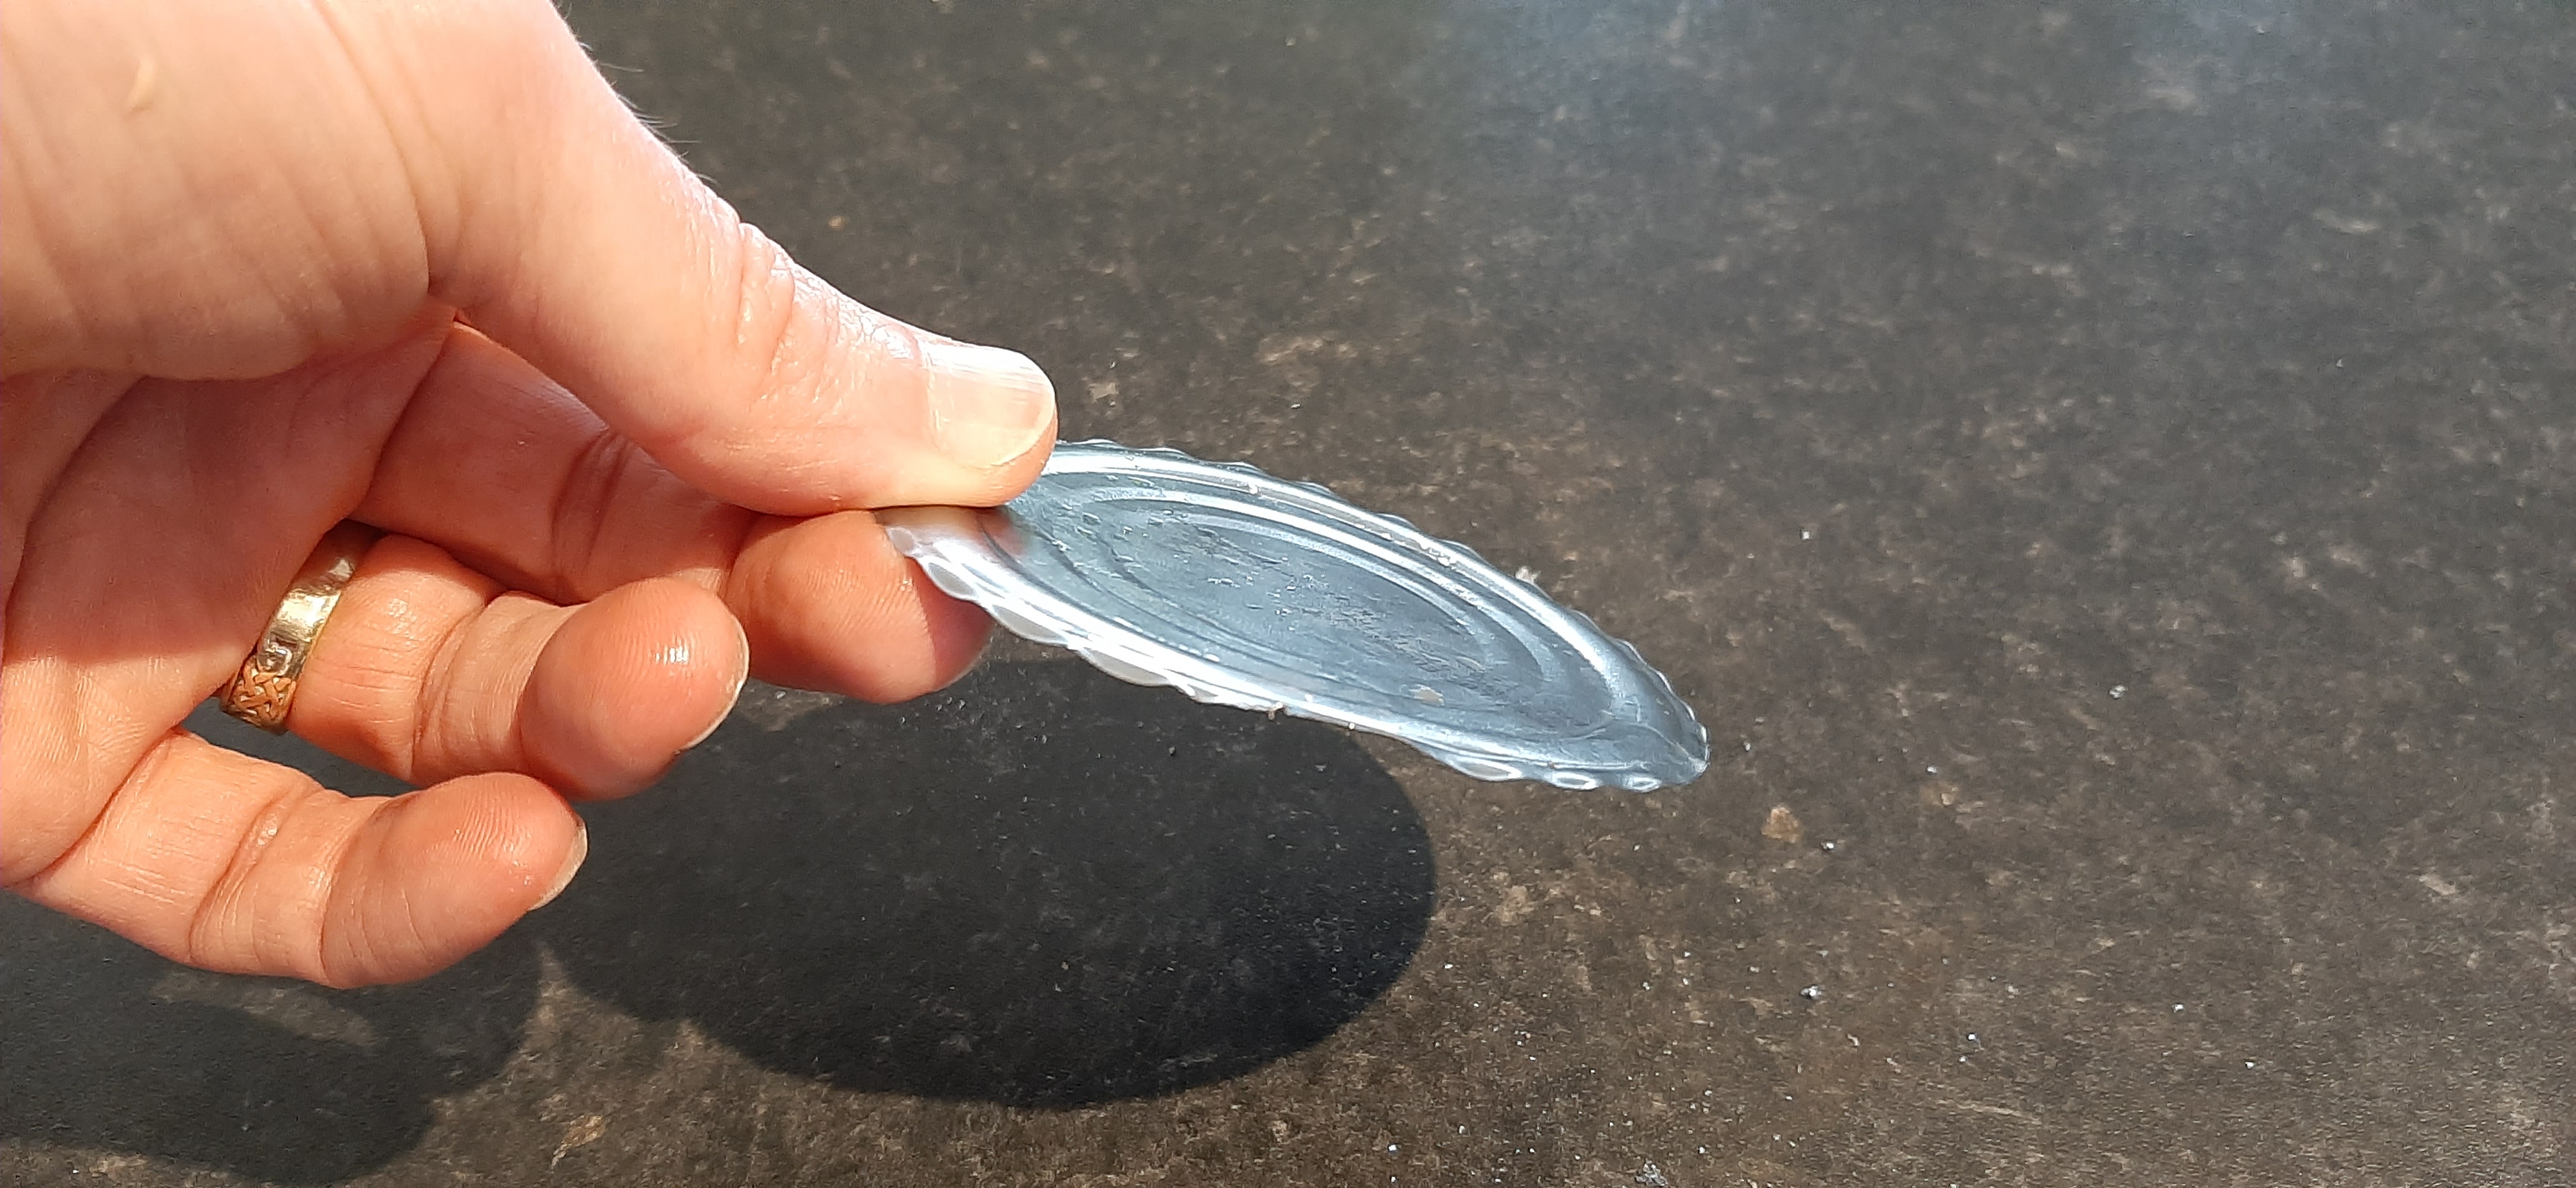
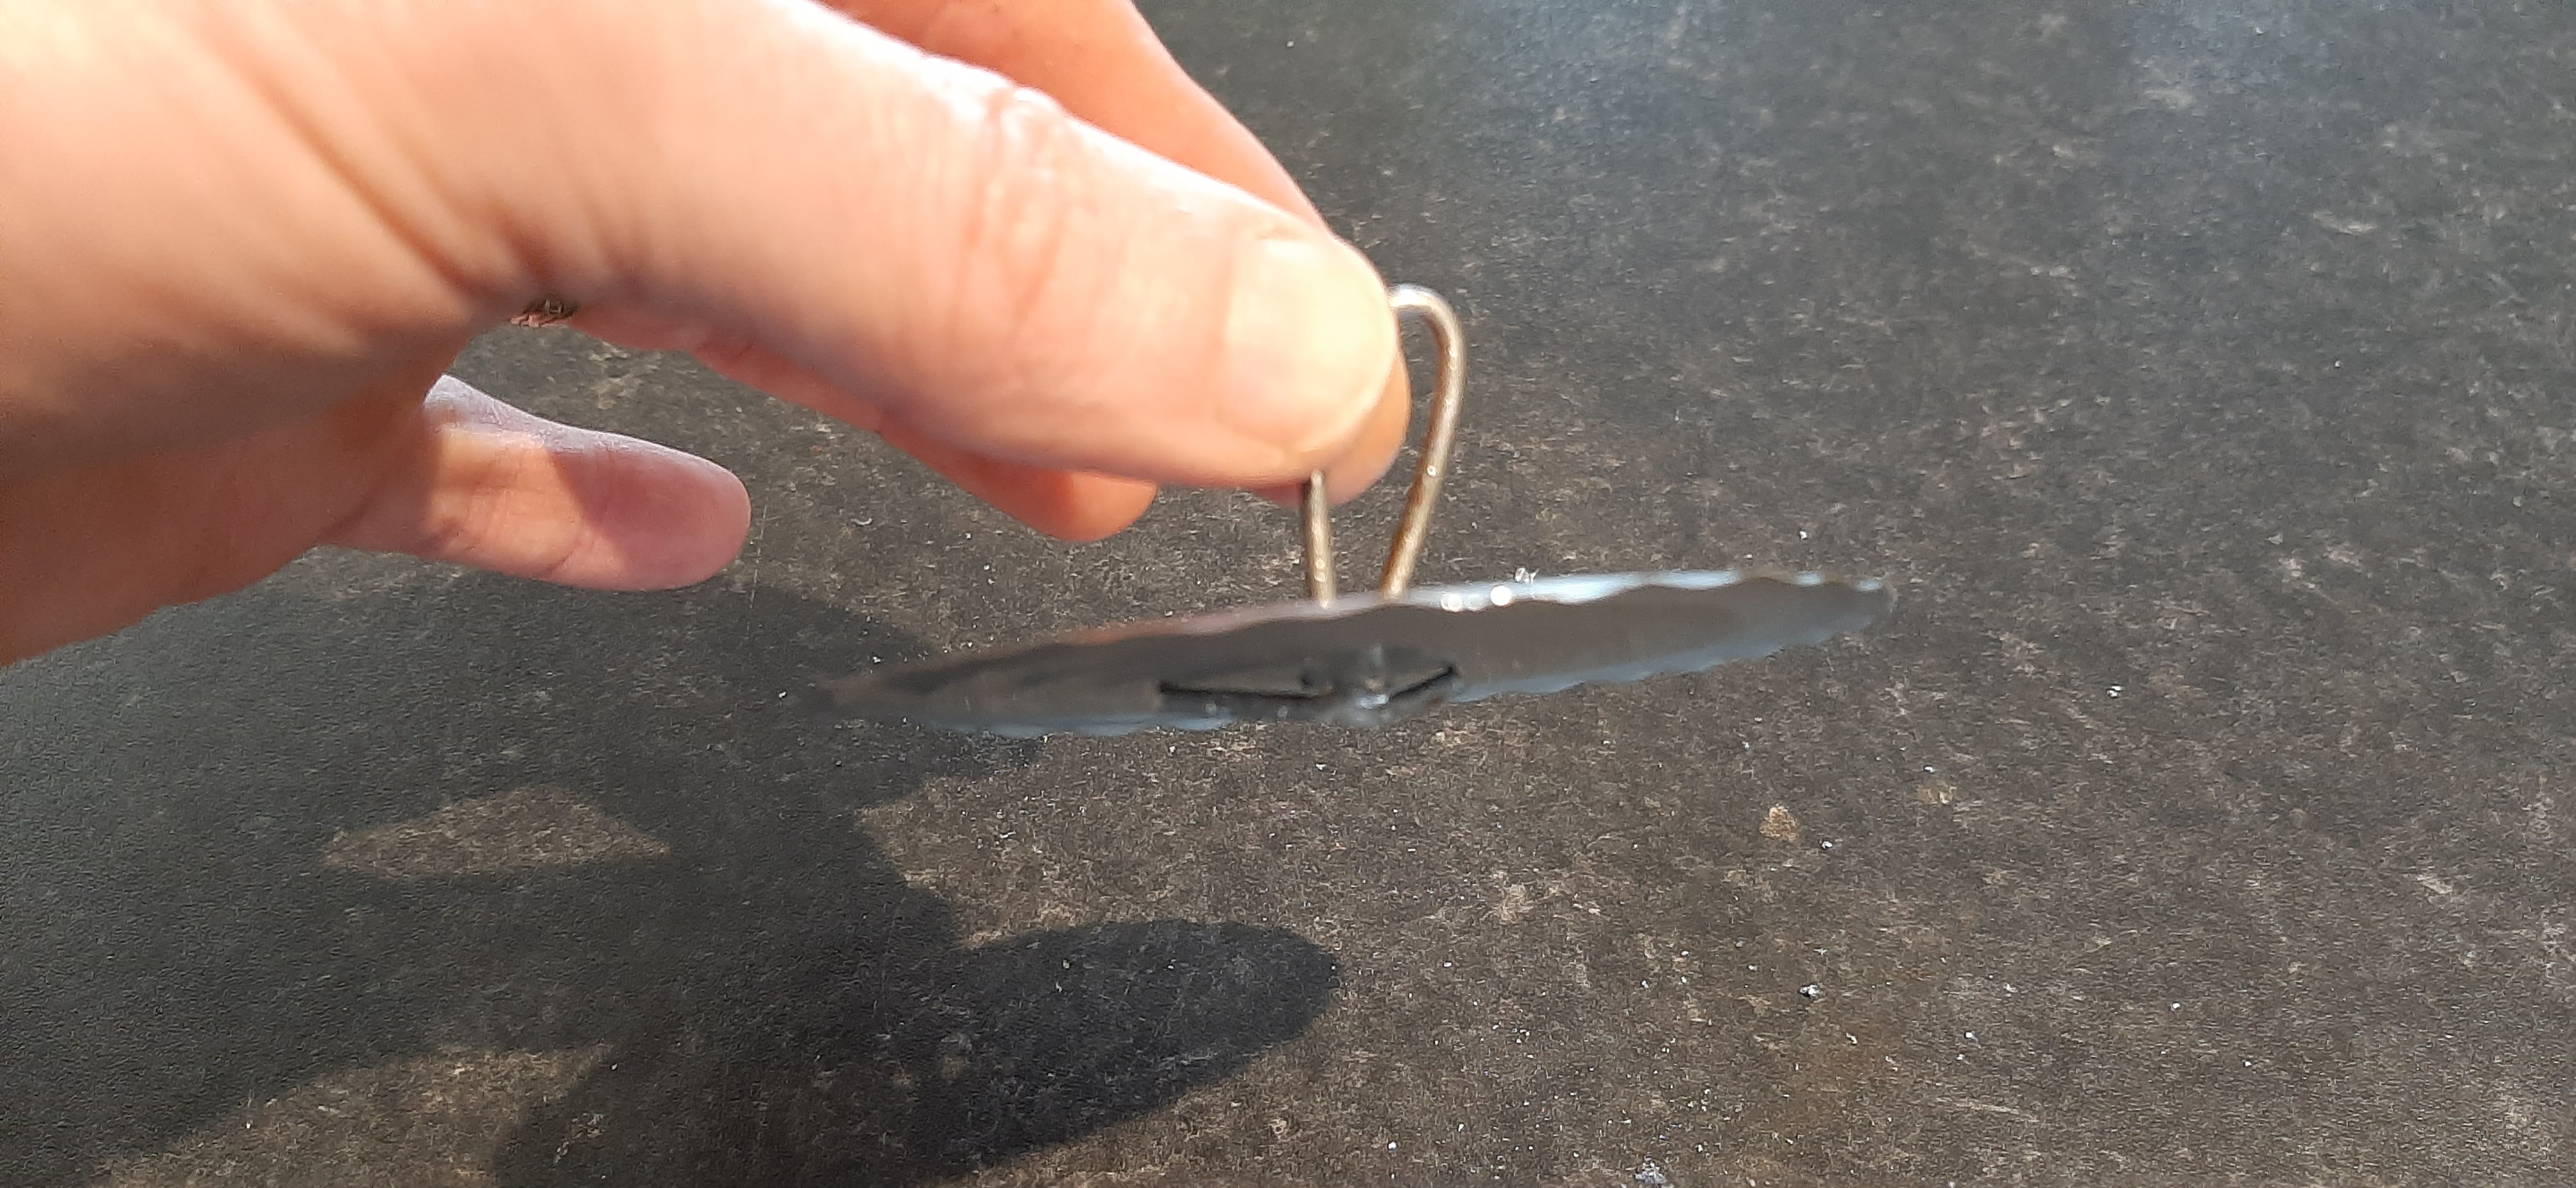
stage 2: lid
A lid isn’t necessary but it will retain heat in the can, speed up the boiling process and use less fuel. I used the lid from one of the tuna cans. Using the large drill bit make a hole in the centre of the lid. Cut a piece of the wire coat hanger approximately 6-8cm long. Bend the two ends until they meet and push half their length through the hole from the outside. Bend the edges back to prevent them pulling back through and leave a loop on the top.


The remaining piece of the hanger can be used as a hook for lifting the lid or the whole can off the stove without burning your fingers.

That’s the complete DIY cooking system. I plan to use it later this week. This plan will involve creating a YouTube video which I’m a bit leary of but I guess it will be good to get outside my comfort zone.
Header image from kk.org